
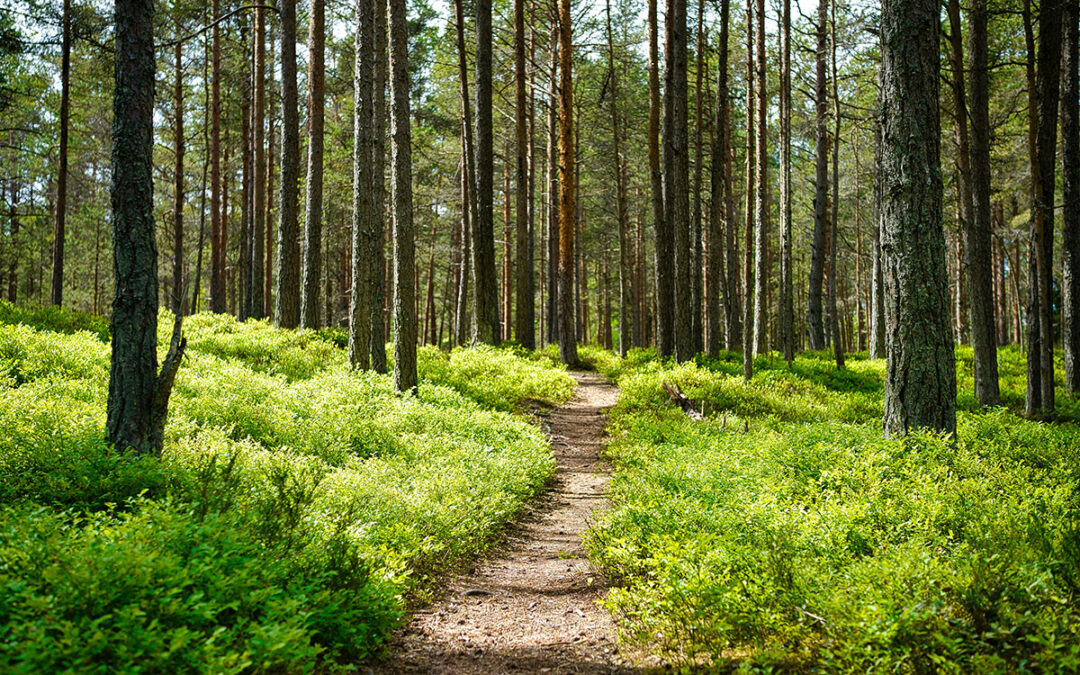
Owning land in the foothills and High Country of North Carolina gives you plenty of ways to make the property more useful. Whether you have a few wooded acres behind your home or a much larger tract in the mountains, a well-built trail can help you reach areas that are otherwise difficult to access. Trails can create better routes for hiking, hunting, ATVs, side-by-sides, tractors, forestry work, property maintenance, or simply enjoying more of the land you already own.
Building a good trail takes more than clearing brush and driving across the same path until the ground becomes packed. Western and northwestern North Carolina properties often include steep slopes, clay soils, rocky sections, springs, creek crossings, drainage channels, and abrupt elevation changes. Those conditions influence where a trail should go, how steep it can be, how wide it needs to be, and how water must be managed.
When trail-building best practices are ignored, problems can develop quickly. A route that looks fine during dry weather can become a muddy mess after several days of rain. Trails built directly down steep slopes can turn into drainage channels. Water can wash away soil and gravel, expose roots, carve deep ruts, and damage surrounding areas. Poorly planned turns can make a trail difficult to use with equipment, while narrow or unstable sections can become safety problems.
If you are wondering how to build a trail on your land, the most important thing to understand is that a successful trail should fit the property. The goal is not simply to create a clear path from Point A to Point B. The goal is to build an access route that works with the terrain, handles water correctly, supports its intended traffic, and remains usable without constant repair.
How to Build a Great Trail on Your Land
1. To Build a Great Trail, Know What the Trail Needs To Do
The first step in trail building is deciding exactly how you expect to use the route. A walking trail and an equipment trail may follow the same general corridor, but they should not necessarily be built the same way. Width, slope, turning radius, surface preparation, overhead clearance, and drainage requirements all change depending on the expected traffic.
A hiking trail may only need enough room for one or two people to pass comfortably. A side-by-side trail needs substantially more width, along with enough room to maneuver around curves. Trails intended for tractors, skid steers, trailers, or other land-management equipment require even more planning because machine width is only part of the equation. Attachments, turning radius, side slopes, overhead branches, and the strength of the trail base all matter.
Before choosing a route, think about whether the trail will be used for:
- Walking and hiking: These trails can often be narrower and require less extensive surface preparation.
- Hunting access: A trail may connect parking areas, food plots, stands, wooded sections, or remote parts of the property.
- ATVs and side-by-sides: These routes need more width, manageable grades, and enough room for safe turns.
- Tractors and maintenance equipment: A stronger base, greater clearance, and wider curves may be necessary.
- Forestry and land-management work: Future tree removal, brush clearing, mulching, and drainage projects may depend on dependable access.
- General property access: Some trails eventually function more like small roads and should be planned accordingly.
Making this decision early can prevent the frustration of building a narrow recreational trail and later discovering that it cannot accommodate the equipment needed to maintain the property.
2. To Build a Great Trail, Study the Land Before Clearing It
Walking the property before construction is one of the most valuable things you can do. Do not assume that the straightest route is the best route. In mountainous and foothill terrain, a longer route can often be easier to build, easier to travel, and far less vulnerable to erosion.
Look for natural benches along hillsides, existing logging roads, old farm roads, open areas, stable ridges, creek crossings, wet depressions, rocky sections, and obvious drainage channels. It can also be useful to walk the proposed trail after rainfall. Areas that appear completely dry during a stretch of good weather may collect or carry significant water during storms.
Existing roads and trails deserve special attention. Old logging routes may already follow terrain that made sense for equipment access, although they may still need grading, widening, drainage work, or stabilization. Reusing part of an established corridor can sometimes reduce the amount of clearing and earthmoving required.
There are also areas you may want to avoid entirely. A route that repeatedly crosses wet ground, hugs the edge of a steep drop, or runs through a natural drainage channel may create years of maintenance problems. Changing the route by a relatively short distance can sometimes prevent a much larger problem.
3. To Build a Great Trail, Keep the Grade Manageable
One of the easiest ways to create erosion problems is to build a trail directly up and down a steep hillside. The route may be shorter, but it also gives runoff a straight path downhill.
Water gains speed as it moves down a slope. If the trail becomes the easiest route for that water, runoff can start removing loose soil and creating small ruts. Those ruts capture more water during the next storm, which makes them deeper. Gravel may wash downhill, roots become exposed, and sections that were once comfortable to travel can become rough or unsafe.
Whenever possible, a trail should gain or lose elevation gradually. Following the contour of the land, using broad turns, and incorporating switchbacks where necessary can produce a much more stable route. This is especially important on mountain properties where the elevation difference between two points can be significant.
A longer trail is not necessarily a worse trail. If adding distance allows you to reduce steep grades, control runoff, and create safer equipment access, the extra length may make the entire route much more useful.
4. To Build a Great Trail, Treat Drainage as Part of the Trail
Drainage is one of the most important parts of trail construction in North Carolina. The foothills and High Country receive enough heavy rainfall that even a trail that performs well most of the year can suffer major damage during a few intense storms.
Water should generally be encouraged to cross the trail or leave it at controlled points rather than traveling along it. Depending on the terrain, this may require shaping the trail surface, creating a slight outslope, installing drainage dips, building swales, using culverts, or establishing ditches where appropriate.
Several warning signs can tell you that a proposed route may need more drainage planning:
- Visible channels through leaves or soil: These often show where stormwater already travels.
- Consistently soft ground: Persistent moisture may indicate a spring, seep, or poorly drained soil.
- Sediment deposits: Soil and debris left behind after rain can reveal concentrated runoff.
- Exposed roots on an existing path: This may show that erosion has already removed surface soil.
- Deep tire ruts nearby: Existing vehicle damage can indicate weak soil or drainage problems.
- Water sitting in depressions: Low spots may require drainage improvements or should be avoided altogether.
It is far easier to account for water during route planning than to repair a trail after runoff has already carved through it.
5. To Build a Great Trail, Clear Enough Space Without Over-Clearing
Clearing vegetation is necessary, but removing more than you need can create additional work and expose more soil to erosion. The clearing width should match the intended use of the trail.
A walking trail can often weave around larger trees and preserve much of the existing canopy. Equipment trails require more space, both at ground level and overhead. A tractor or skid steer may fit through a straight section easily but struggle around a curve if trees, stumps, or limbs restrict the turning radius.
The edges of the trail also matter. Removing every tree and plant from a wide corridor can leave large amounts of bare ground exposed to rainfall. On steep terrain, that disturbance can increase erosion. A better approach is to clear deliberately, removing what interferes with safe travel while preserving vegetation that helps stabilize nearby soil.
Stumps should be evaluated individually. A stump directly in a vehicle route may need removal, but pulling large stumps from steep banks can disturb a significant amount of earth. Trail building often requires balancing access needs with the amount of soil disturbance you create.
6. To Build a Great Trail, Build a Stable Surface
A trail does not become durable simply because vehicles have driven across it several times. The ground beneath the trail determines how well the route will hold up under traffic and wet weather.
Loose organic material, deep topsoil, muddy sections, and poorly compacted fill can create weak spots. Those areas may perform adequately during dry conditions and then fail once saturated. Heavier equipment can make the problem worse by creating deep ruts that collect even more water.
Some trails may only need grading and compaction. Others may benefit from stone or gravel in high-traffic areas, entrances, steep sections, or places where the natural soil does not provide enough support. The specific solution depends on how the trail will be used and what type of ground is present.
Stone should not be treated as a substitute for drainage. If water is running directly down the trail, adding gravel may temporarily improve the surface, but runoff can eventually move that material downhill. Correcting the water problem first gives the surface a much better chance of lasting.
7. To Build a Great Trail, Give Creek Crossings and Wet Areas Extra Attention
Streams, springs, wet-weather channels, and persistently wet ground require more planning than ordinary trail sections. A poorly designed crossing can become muddy, eroded, or unusable after repeated rain.
Depending on the site, a crossing may require a culvert, bridge, hardened surface, drainage structure, or a different approach angle. In some cases, relocating the trail is the better answer. It does not make sense to spend time and money fighting a wet area if a nearby route can stay on higher and more stable ground.
Creek crossings can also raise regulatory considerations. Before performing substantial work in streams, wetlands, or other sensitive areas, property owners should determine whether permits or other requirements apply.
Good trail planning includes knowing where not to build.
8. To Build a Great Trail, Plan Around the Equipment That Will Use It
Equipment access is easy to underestimate. A trail may appear wide when you are walking it and still be too confined for a tractor, skid steer, excavator, trailer, or forestry machine.
Think beyond machine width. Equipment needs room to turn, room for attachments, overhead clearance, stable shoulders, and safe transitions between slopes. Sharp switchbacks may work for hikers while being almost impossible for larger machinery. A sudden steep climb can also cause traction problems even when the surrounding sections are relatively easy to travel.
If the trail could eventually be used for tree removal, forestry mulching, drainage work, brush clearing, building projects, or other land improvements, it may be worthwhile to build additional access into the original design. Creating adequate access now can eliminate the need to widen or reconstruct the route later.
9. To Build a Great Trail, Control Erosion Before It Becomes a Major Problem
Freshly disturbed soil is vulnerable. Even a well-designed trail may need erosion-control measures while vegetation becomes established and recently graded areas settle.
Trail edges, cut banks, fill slopes, and drainage outlets deserve particular attention. Water leaving the trail needs somewhere stable to go. Sending concentrated runoff toward an exposed hillside can simply relocate the erosion problem.
After significant rainfall, inspect the trail instead of assuming everything is functioning correctly. Small changes often reveal problems before major damage occurs. A thin rut forming down the center of the trail, a small pile of washed gravel, or sediment collecting below a drainage outlet can all signal that water is moving somewhere it should not.
Early repairs are usually straightforward. Waiting until an entire trail section has washed out can turn a simple correction into a grading and reconstruction project.
10. To Build a Great Trail, Avoid the Mistakes That Cause Repeat Repairs
Many trail problems begin with an attempt to save time during construction. Taking the shortest route, skipping drainage work, making the trail narrower than necessary, or throwing gravel over soft ground can reduce the initial workload while creating much more work later.
Some of the most common trail-building mistakes include:
- Building straight down steep slopes: This encourages water to use the trail as a drainage channel.
- Ignoring seasonal wet areas: Conditions in July may be very different from conditions during a rainy winter or spring.
- Making turns too tight: Equipment may not be able to use the route safely.
- Building too narrow: Future maintenance or land-management equipment may require widening.
- Skipping drainage planning: Water will eventually find its own route, whether you planned for it or not.
- Using gravel as the only solution: Aggregate cannot compensate for uncontrolled runoff or unstable ground.
- Discharging water onto unstable slopes: This can create erosion outside the trail corridor.
- Disturbing more soil than necessary: Excessive clearing can make erosion control more difficult.
A trail built correctly from the beginning may cost more effort upfront, but it can significantly reduce repeated repairs.
11. To Build a Great Trail, Maintain It After Construction
No trail is completely maintenance-free. Trees drop limbs, storms move debris, vegetation grows back, drainage structures collect leaves, and repeated traffic gradually changes the surface.
The amount of maintenance depends on the type of trail and how frequently it is used. A lightly traveled walking trail may only need occasional clearing, while an equipment route may require periodic grading or additional stone in heavily traveled sections.
After major storms, check drainage features first. Culverts, ditches, and outlets can become blocked by leaves, sticks, sediment, or storm debris. Clearing a blockage early can prevent water from being diverted onto the trail.
A basic trail maintenance routine can include:
- Clear fallen limbs and storm debris.
- Trim brush that reduces trail width or visibility.
- Inspect culverts, drainage dips, and outlets.
- Repair small ruts before they deepen.
- Add surface material where repeated traffic has worn it away.
- Watch for standing water or newly developed wet areas.
- Stabilize disturbed trail edges when erosion begins.
Maintenance is much easier when the original trail has been built around good drainage and a stable route.
12. To Build a Great Trail, Work With Your Property Instead of Against It
Successful trail construction often comes down to understanding the land. The best route may use an old logging road for part of its length, follow a natural bench along a hillside, curve around a wet area, climb gradually through a series of turns, and then connect to a flatter ridge.
That route may not look like the shortest one on a map, but it may require less excavation and perform far better during wet weather.
Properties throughout the foothills and High Country vary significantly. Some have rolling terrain with relatively gentle slopes. Others contain steep mountain grades, rocky ground, creeks, springs, and narrow areas where access is difficult. There is no single trail layout that works everywhere.
The goal is to build something suited to your property, your intended use, and your long-term plans for the land.
Choose Foothills Land Services for Trail and Road Building in North Carolina
A well-built trail can change the way you use your property. It can open access to wooded acreage, make land-management work easier, improve hunting and recreational access, and connect areas of the property that were previously difficult to reach.
Getting those benefits requires good planning. Trail location, slope, grading, drainage, erosion control, vegetation clearing, creek crossings, surface preparation, and equipment access all affect how well the finished route performs. Skipping those considerations can lead to mud, erosion, washed-out surfaces, unsafe grades, and repeated repairs.
Foothills Land Services helps landowners throughout North Carolina improve access to their property through trail building, road building, grading, clearing, drainage work, and other land services. Whether you need a walking trail through wooded acreage, an ATV route, hunting access, a trail for land-management equipment, or a more substantial road through your property, we can help develop an approach that fits the land.
If you are ready to make more of your property in the foothills, High Country, or surrounding areas of North Carolina, contact Foothills Land Services for professional trail and road building.